
If you’ve spent any time in the shop of someone who has been doing woodworking for a while, you’ve probably seen a collection of clamps organized on a wall. Odds are, the wall of clamps is made up of various shapes and sizes. Clamps are one of the must have tools for a woodworker. It’s also also one of the tools where a work around is available. In order to product quality work, you will have to invest in a set of clamps.
Like most products in woodworking, there are a plethora of options available for you to choose from. Below I will go over some of the most common types of clamps that you will find as you begin your search. I’ll also try to help you decide which clamps you really need so you don’t end up purchasing an expensive set that ends up sitting in the corner wasting money and precious shop space. For a detailed list clamps that I recommend, please check out my Recommended Tools Section on Woodworking Clamps.
Types of Clamps
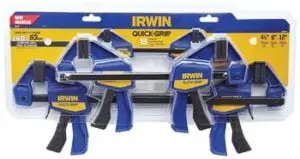
Trigger Clamps
These are probably the most common clamps that you will find. These are very popular in the big box home improvement stores, and you’ll find many assorted brands available. These clamps are rather small and lightweight in size. Typically, you’ll find that these clamps range from lengths of about 4” to around 12”. They are built so that a handle (or trigger) can be pressed which allows you to quickly tighten or loosen the grip on your work piece. These clamps come with plastic pads on the jaws to reduce the risk of them damaging the product you are clamping.
Clamping power on these units is small when used individually, primarily because they are made of plastic. I would recommend only using these clamps to hold small pieces down or the use of larger clamps just isn’t viable. Depending on the size, you can pick these up for $5-$10 apiece. For someone just starting out, I’d suggest keeping around 4 of these on hand as they always come in handy around the shop. A set of these clamps would be one of my first purchases if I was just starting out.
Here’s a nice set that I’ve recommended to several times to family and friends. I’ve never heard anyone have a complaint with them. This particular set is a variety pack which I think is nice for someone just starting out with their clamp collection.
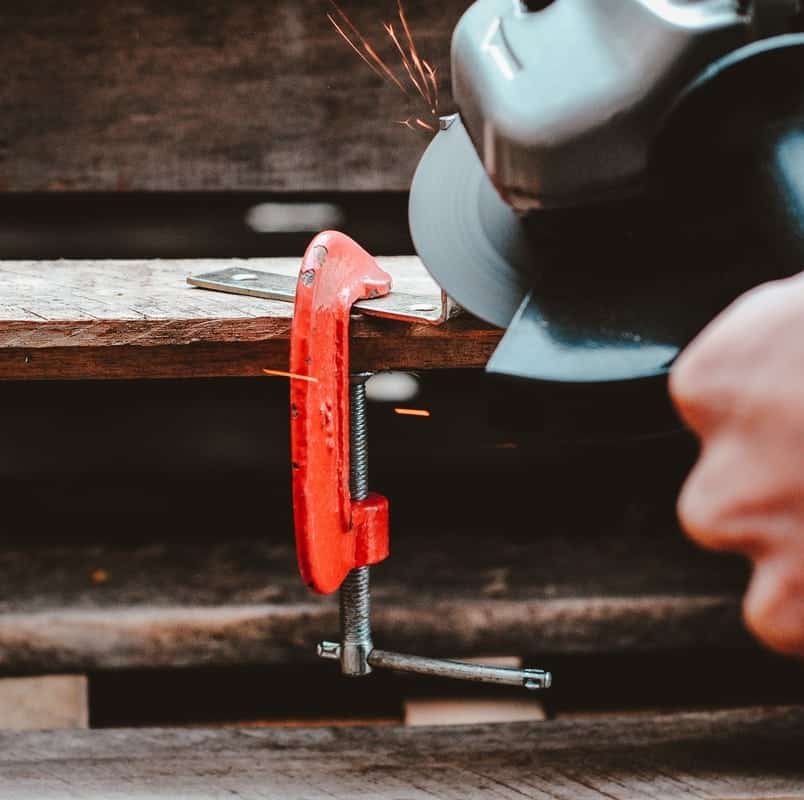
C Clamps
These clamps have been around forever. If you grew up around a shop, you probably played with these as a kid. These are called “C clamps” because, they look like the letter “C”! These clamps are almost always made of metal and can come in a very wide range of sizes. You can pick them up in sizes as small as 1” and go on up to 12” for 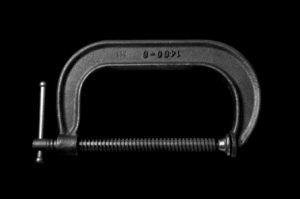 home use and even higher for industry specific applications.
C Clamps will give you more clamping power than the trigger clamps from above. The drawback to using them over the trigger clamps is the quickness of getting them set. With the trigger clamps, you squeeze the handle, adjust the clamp and you are done. The C clamp requires you to adjust the tightness of the clamp by turning a handle which can be time consuming.
One of the drawbacks to using a C Clamp on a woodworking project comes with over tightening. The layout of the handle and screw allow users to apply additional torque which can easily lead to over tightening. Most C clamps do no have pads on the jaws. If you are clamping a softwood, it is very easy to put a dent in the piece by tightening it too far. I’d suggest adding a piece of cloth or scrap wood between the jaw and wood to prevent the dents and marks.
For someone just starting to build up the tools in the shop, a set of c clamps is nice to have. I’d recommend picking a couple clamps in 2 or 3 assorted sizes just to have around. From my experience, these are not high priority. Harbor Freight might be a good option for you to pick up a few of these for a low price. I don’t recommend HF as your primary option for all of your tools due to quality reasons, but I do think you would be find to get some of their C Clamps.
Pipe Clamps
Pipe bar clamps are probably the most heavy-duty clamps that you can buy for your shop. What I like about them is that they are strong and sturdy, but not horribly expensive for what you get. When you decide to purchase a set, you may be confused if you’ve never seen them before. Typically, the first part that you purchase is the clamping mechanism, and when looking at them, they look rather unimpressive and small. However, this mechanism, is only the first part of your purchase.
Once you’ve decided the size you want, ½” or ¾”, you will then need to go to your local hardware store and purchase some steel gas pipes. Once you have both the pipe and the clamping mechanism, it’s as easy as sliding the clamps onto the pipe and you are ready to go.
The nice thing about these clamps is that they are interchangeable. Once you have the clamps, you can purchase multiple lengths of pipe and take the clamps off and move them to set with the length you desire. The only thing you have to be mindful of is purchased the same pipe thickness (½” or ¾”).
One negative to these clamps is the fact that the throat can be rather short. The throat is the distance between the jaw and the inside mount of the clamp. I sometimes refer to it as the “grips” or “feet” that the clamps have to hold your piece into place. If you are gluing up some table tops or cutting boards, a set of pipe bar clamps is the best route to go. Their strength and ease of use can’t be beat.
Another common complaint that I hear from time to time is that bar clamps can leave a residue on a person’s project due to the grease and residue on the pipes. If this is a serious concern for you, I’d recommend putting some old rags between your work piece and the pipes to ensure they don’t rub one another as an extra layer of protection.
Bar Clamps (F Clamps)
These are easily the clamps that I reach for the most in my shop. I use these for everything. These clamps function much like the pipe clamps that we discussed earlier, but are much smaller in scale. They are sometimes referred to as F Clamps because they tend to look like the letter “F” when they are on their sides.
As I said, bar clamps function much like a pipe clamp in that there is a level on the bottom that lets you quickly move the lower jaw up or down to get it close to your project. Then, in order to tighten it, you begin turning a knob that will move the lower jaw closer to your project which then begins applying pressure.
The nice thing about bar clamps is that they come with padding on the jaws to help protect your wood from getting dents and scratches that may occur from over tightening. This is a really nice feature when you are gluing up a large project and not having to constantly stop to put a piece of scrap wood between the clamp and your project.
These clamps come in a wide range of sizes. You can pick some up as small as 6” and up. I have a set that is 48” in length, but the bar is made of aluminum. I don’t use these often because the aluminum isn’t as sturdy as I like. When I get to this size, I will typically just switch over to some pipe clamps. I do recommend bar clamps up to about 36” though.
Do some comparison shopping between brands to find the ones that you like the most. This will probably be the one set of clamps in your shop where you easily accumulate 10 or more of the same size. Before spending that much money on the purchase ensure it’s a brand that you trust and is high quality.
Personally, I really like the Bessey brand. They are excellent quality and have very reasonable pricing. Here’s a link to their 6 inch clamps and well as their 12 inch clamps.
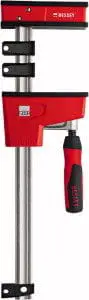
Parallel Clamps
These clamps are similar to bar clamps but on steroids. The nice thing about these clamps are that they are made to be versatile and can be used in a number of different ways. The only real negative, is that they are expensive. Unless you are someone who has an unlimited budget, it would be hard to build a collection of these clamps for your shop.
There are several things to like about these clamps. First off, they are heavy duty. They offer great clamping power. They are similar to the strength that you would find in a pipe bar clamp. Once you start tightening them down to your project, you aren’t going to have to worry about whether or not they will be able to hold your boards in place. They will do the job, and do it well.
The one drawback to the pipe clamps were the small throats that latch on to your boards to hold it. Parallel clamps fix that issue. These clamps are made with large throats and can hold up to 3 to 4 inches of material.
Another nice thing about these clamps are that they form a 90-degree angle around both of jaws. These are great and gluing up boxes or cabinets, as you can always ensure your products are square.
Lastly, these clamps are made so that you can easily disconnect them, reverse them and use them as spreaders! I love this feature. It’s not often that I need a spreader for a project, but prior to getting a set of parallel clamps, it was always a pain figuring out how I was going to push boards apart during glue ups. Getting these clamps have made the process quite easy and it’s not even something I have to think about anymore.
As I said earlier, these clamps are pricey compared to the others we’ve mentioned. The price you pay for each clamp will be determined by the size you purchase. You can find some cheaper generic versions online, but I haven’t found any with consistently good reviews. I’d recommend the Jet models or those made by Bessey.
How much pressure do you need to glue wood?
Once you have applied glue to your project and have everything in place, you are going to want to add as many clamps as possible to ensure the piece does no move. A common question for those new to woodworking is “How tight do I tighten my clamps.” There’s no true clear-cut answer to this question. However, there are things to watch for as you add clamps to your project to ensure you are not over tightening.
The single most important thing to watch for is movement of your piece as you begin to tight the clamps. If you piece starts to move or shift because of the tightness of your clamps, you’ve gone too far and should loosen their grips. The clamps should be in place only to HOLD your piece in place. The clamps should never cause it to move or shift any.
Another thing to be mindful as you are attaching your clamps is the softness of the wood you are working with. Softwoods such as pine can be damaged by over tightening your clamps. Excitement of seeing your work without the clamps can quickly turn to frustration once you start over tightening and seeing you dented your wood.
If you are working on an important piece, I would highly recommend putting a cloth under your clamp pads while the glue dries. I always do this as a “just in case” to protect the wood, not only from dents, but scratches and the possibility of any residue that may have been on the pad bleeding over to the wood.
How many Clamps do I use?
How many clamps should you apply to your project during the gluing phase. Again, no clear answer on this one either. The most common answer to this, is to use as many as you can. If you’ve visited a friend of family member who has done woodworking for a few years, you’ll probably fine an endless supply of clamps. Woodworkers buy
![By Luigi Zanasi [CC BY-SA 2.0 ca], from Wikimedia Commons](https://www.makefromwood.com/wp-content/uploads/2018/08/Clamps-300x241.jpg)
When setting your pieces up for gluing, the most important thing to ensure is consistency. It’s important for the glue to be applied consistently across all the wood so there are no weak spots present. You want consistency when placing clamps too. Not applying a consistent number of clamps across your project could cause warping or bending of your pieces. This in turn will cause parts to not line up as you had planned.
My suggestion to new woodworkers is to purchase a couple clamps every so often. This will help you build up your collection over time so as you get into bigger and bigger projects, you will have them available. Plus there’s no large one-time expense to buy a bundle. For a while I was trying to buy 2 clamps per month and did this for a while. In no time, I grew quite the collection and managed to stay on my wife’s good side by not spending too much all at once!
What Size Clamps do I need?
There is really no easy answer to this question. Ultimately, it’s all dependent upon what type of project you are going to be working on the most. If you are going to be working on projects that include glue ups involving wood bending, you are going to need dozens of clamps (probably C or F clamps) to ensure you apply a consistent amount of pressure throughout the work.
If you are working on smaller projects, such as cutting boards, you can pick up 4-6 24” or 36” pipe clamps and have everything you need. I’d caution you to not go out and buy a dozen clamps of one particular style all at once. Instead, pick up a couple and test them out to see what you like and don’t like about them before investing heavily in them. You may find certain types work better with your projects than others.
If you are just looking for a starting point on what to buy first, my starter list would include the following:
- C Clamps – 2 of each: 4”, 6”, 8”
- Trigger Clamps – set of 4
- F Clamps – I have more of these than any other clamps. I have 12”, 24” and 36” lengths. I use them all the time. Take your time and find a brand that you like and then start adding to your collection.
- Bar Clamps – Buy in sets of 2. Lengths will be dependent upon the size of work you do, but at least 24” and on up to 6 or 8 feet is not unreasonable.
- Parallel Clamps – 1 set of these in the length of your choice.


