With rustic style and DIY projects taking place as top trends, woodworking is once again growing in popularity. However, creating items from wood can seem overwhelming at first. The tools for general woodworking can be expensive to gather and they often require a large space for both storage and use. If you’re wanting to start a woodworking hobby but are struggling with the fear of starting up, you may want to consider Pyrography.
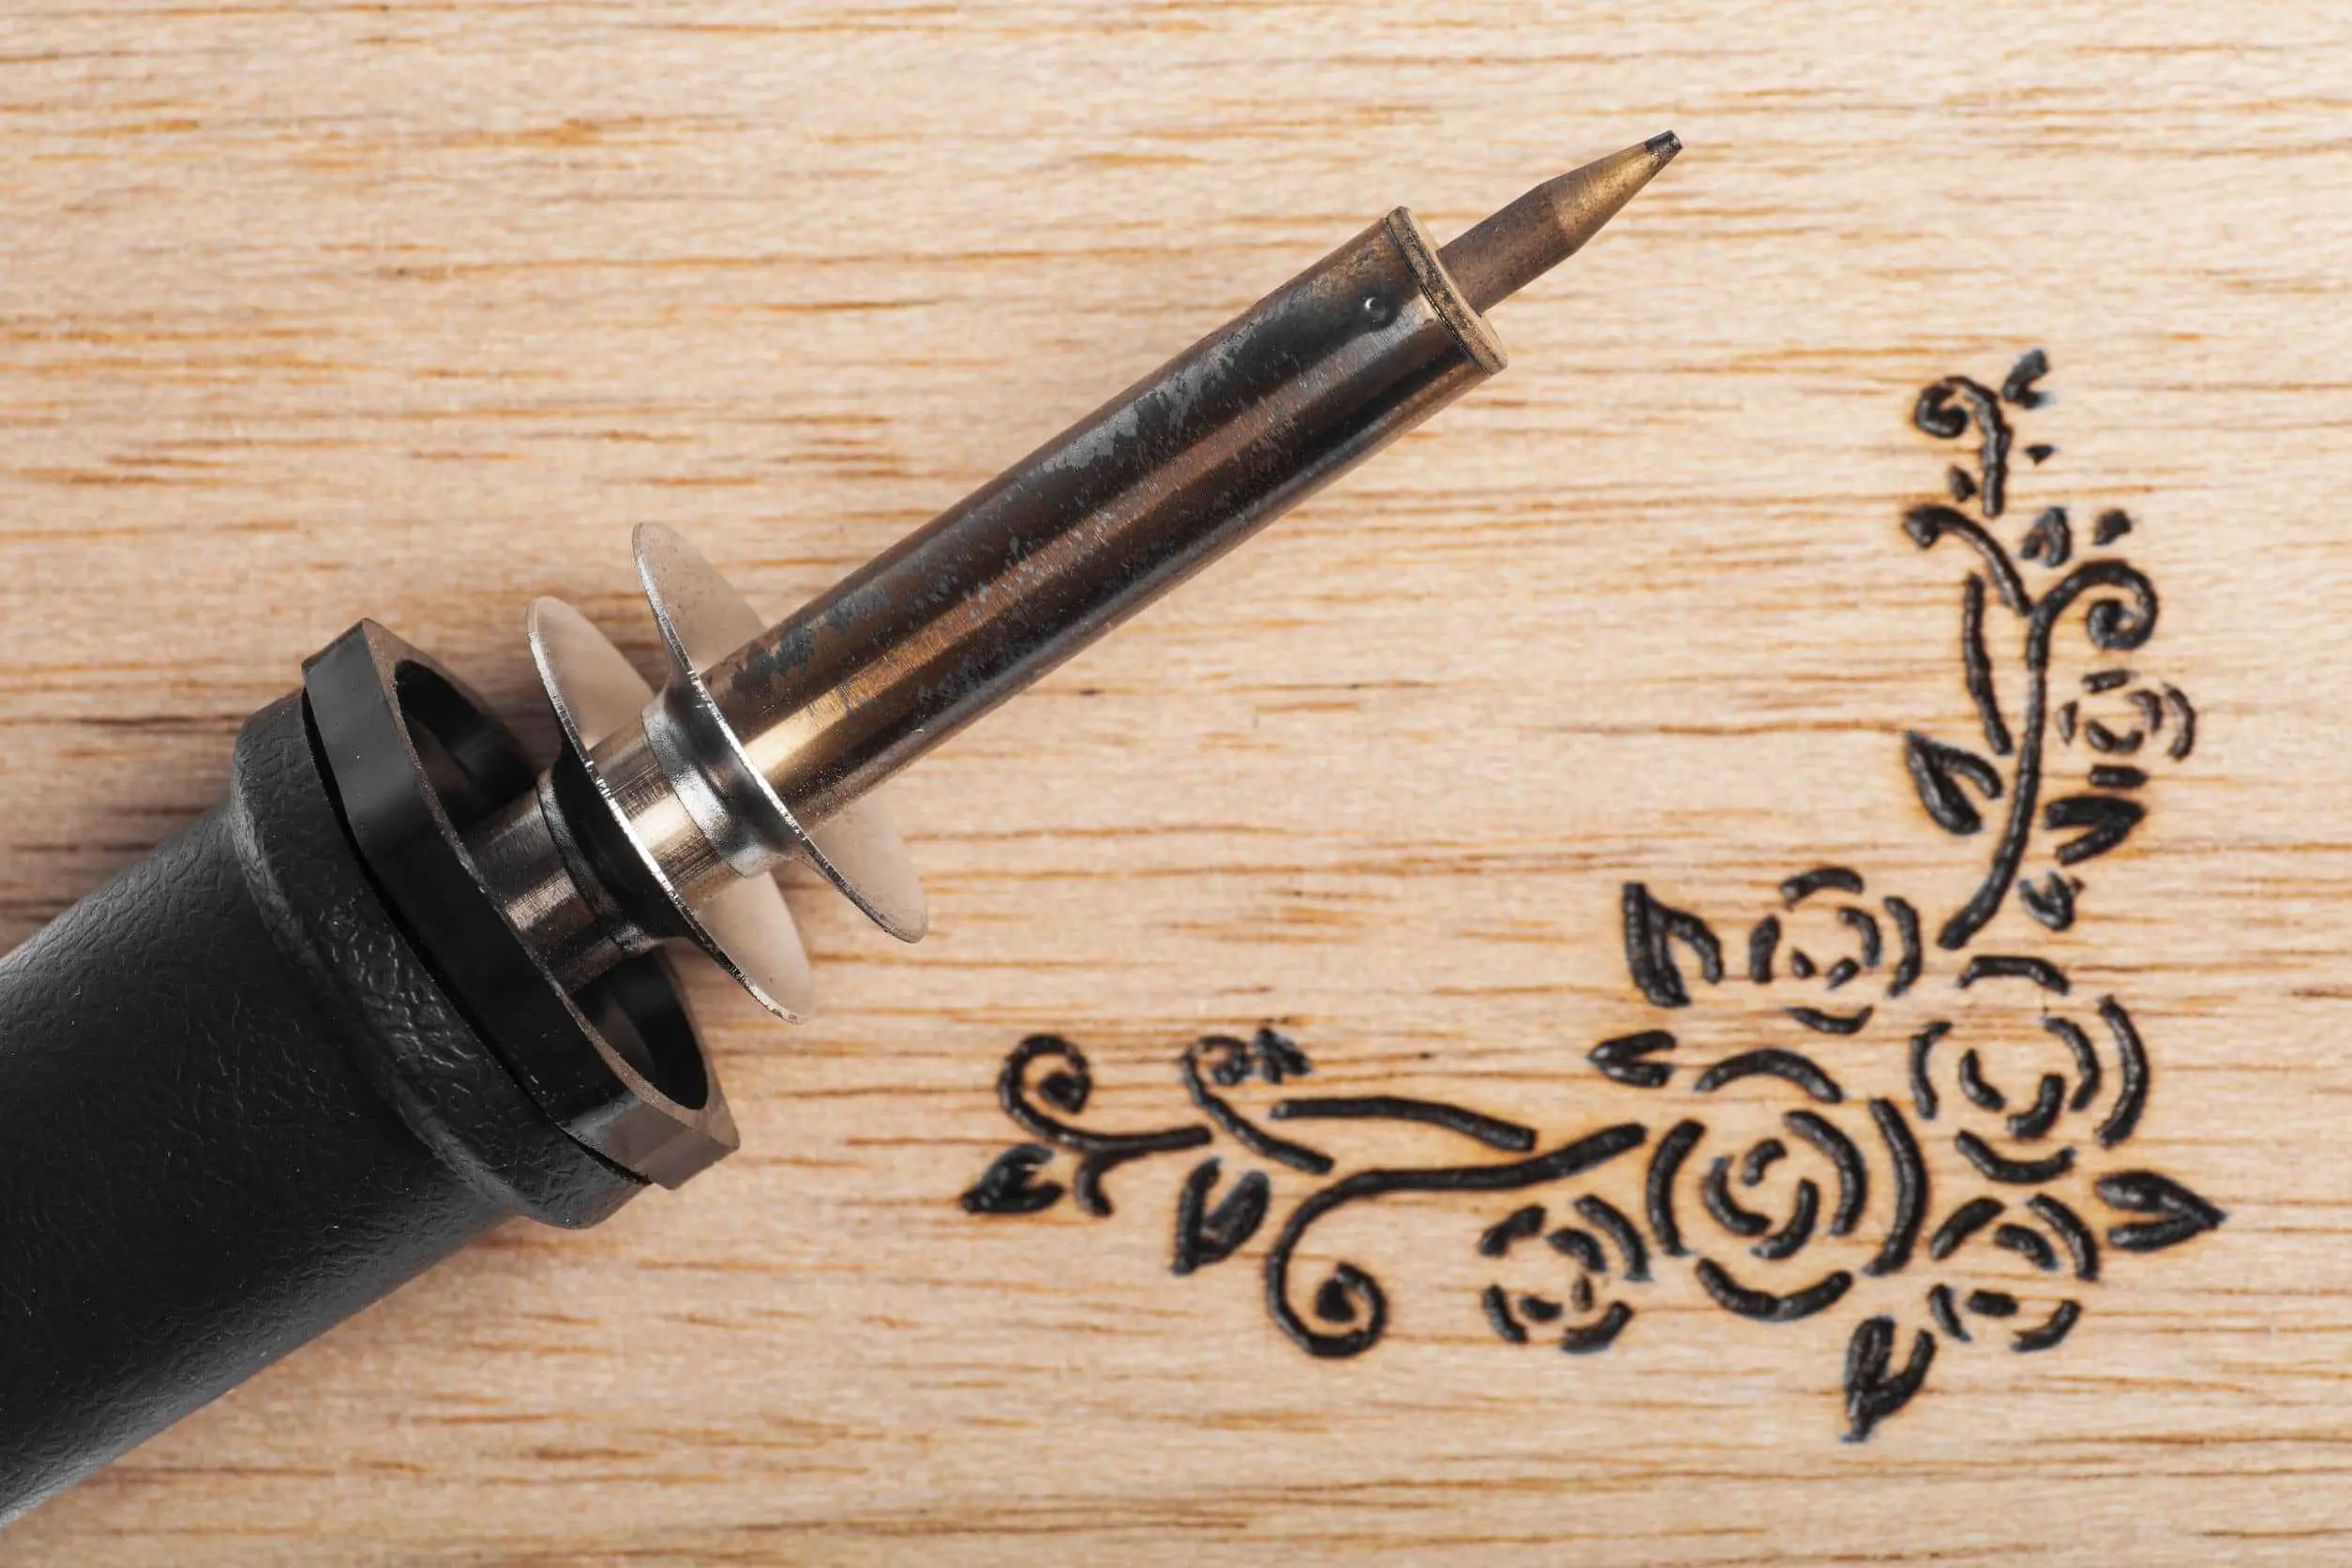
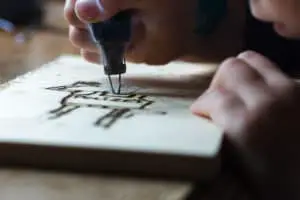
Pyrography, also known as wood burning, is the act of using a hot, metal tipped tool to burn art, designs, or words, into a piece of wood. This hobby has a low start-up cost, does not require much space, and is fairly simple to learn. In this article, we will cover everything you need to know in order to start creating beautiful pieces of Pyrography art.
What Tools Do I Need?
To start working on Pyrography, you will only need a few tools. Each necessary item can be found at home improvement stores, or online sites like Amazon. You may even be able to find the supplies at a local craft store.
Necessary tools:
- Wood Burning tool – This is the most expensive item that you’ll. If you looking to spend as little as possible, you can pick up a wood burning tool for as little as $20 like this one. The features will be extremely limited at this point, but it will give you the ability to start the hobby to see if it’s something you are interested in continuing. Below, I’ll go into a bit more detail on the wood burning kit that I recommend for beginners.
- Wood – The wood that you can use for wood burning can be picked up from a number of places. Many times, free. If you have a small cabinet shop nearby, you can check with them to see if they offer their scrap wood to the public. This is a great way to pick up some pieces of wood to use for practicing. As you begin to take on bigger projects that require better wood, you can purchase pieces from a number of sources both locally and online such as these options available on Amazon.
- Sandpaper – This can be purchased from any big box store. You’ll use sandpaper to help smooth the wood once you are done. It’s also used to remove and clean up and accidental burn marks that you might make while creating your project.
- Pliers – Pliers will be needed to help with changing your burn tips. Any set of pliers will do.
- Design patterns, pen, and tape if desired – This is where you can be creative. You can find potential projects just about anywhere for you to burn. Whether it’s your favorite sports team’s logo or a scenic image, you can burn just about anything into wood once you have developed your skills.
What Type Of Wood Should I Use?
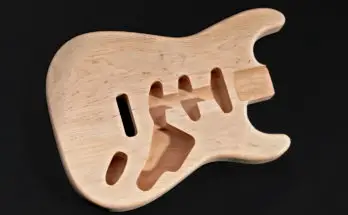
Wood burning can be done on any type of wood. However, when you are just starting you will want to use a soft wood, such as pine, cedar, or fir. This is because softwoods are easier to burn. Harder woods take time, patience, and a bit more skill to burn correctly. You will probably also want to start wood burning on a flat-surfaced wood, as it is much simpler than trying to learn on something that is filled with curves and crevices.
You can start wood burning on a simple piece of two by four board, or you can use a more creative piece such as a tree slab. You can even choose to decorate small, unfinished wooden items with Pyrography; think something similar to an unfinished jewelry box. The size, shape, and type of wood you choose will depend on what you want your final project to look like.
There are a handful of woods that you will want to avoid when burning. Make sure you do not burn on wood that has been treated for outdoor use. Treated wood contains many types chemicals so that it can withstand harsh weather conditions. Burning treated wood will release these chemicals and are extremely toxic to breath.
Two other types of wood that you should not burn are plywood and MDF. Plywood contains a significant amount of glue which can be harmful to breath. MDF also contains chemicals and the dust from it can be very harmful to your lungs.
How To Begin Wood Burning
Before you begin creating your project, you will want to give yourself some time to get familiar with your wood burning tool. Your tool will have a cord that plugs into an electrical outlet, and it will have a variety of differently shaped tips to work with. Choose a tip, put it on your tool, and plug your tool in.
While your tool is warming up, you can take a few minutes to prep your wood. If you are using a simple board, you may want to sand it before you start. This will ensure your surfaces are even for even lines and designs. Use a fine sandpaper, preferably 300 grit or above, to create the beautifully smooth finish you are looking for. If you’re using a pre-made wood item, it is likely already smooth so you do not need to worry about prepping it at all.
Once the tool has warmed up, take a spare piece of wood and simply get the feel of the trade. Pay attention to the motion you use, and its result. For example, what do the lines look like if you use a swift motion, compared to what they look like when you slowly move the tool across the board?
You will want to practice with various tips as well. You can remove the hot tip with a pliers, and use the pliers again to place another tip onto the tool. Look at the different marks left by the various tools. This practice will allow you to know what your tool is capable of once you actually begin your project. After you begin to feel more comfortable with your tool, you can start on your first real project.
Wood Burning With A Pattern
You can choose if you’d like to freehand your design, or if you’d like to use a pattern. If you are going to use a pattern, you will need to find something you like, print it onto paper, and tape the paper onto your board.
Once the paper is taped to your board, it will be time to trace your design. Use a pen or pencil and trace the outline of the shapes you want to create. Make sure to copy all lines onto your piece of wood, so when you remove your design you still have an idea to follow. Once your lines are finished, remove your design from the wood.
Get your tool ready with the desired tip applied, begin to press down on top of your pen lines in the areas that you would like to burn. Once you’ve burned every line in your design, take a moment to look at your creation. If you need to do any touch ups, you can do them now.
Wood Burning Without A Pattern
If you are choosing to freehand your design, you can simply take your tool with your chosen tip and your piece of wood, and get to work. You can look at an image and create it by sight, or create your own masterpiece from your own ideas.
Sanding Your Piece
Once your design is set and ready to go, you can use your sandpaper to smooth out any rough edges left by your tool. It is best to use a very fine sandpaper like you did when you prepared your wood. A 300 grit or higher will leave your piece with a smooth, beautiful finish.
Wood Burning Tips And Tricks
Now that you have an understanding of how to begin this simple woodworking technique, let’s look into a few tips and tricks that will allow you to work safely and to make sure your projects turn out as good as possible. With the use of certain tools, techniques, and ideas, you can create beautiful art from day one with your Pyrography tool.
Look Into Specialty Tips
Specialty tips can add class to your finished project and ease your efforts. For example, if you are planning to work with letters often, you may want to invest in a set of letter stamping tips. These will allow you to create even letters quickly every time.
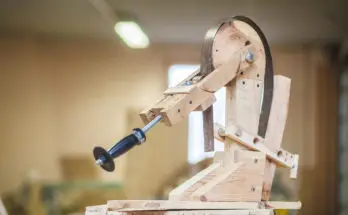
Invest In A Wood Burning Tool Stand
When you have a hot wood burning tool and you need to set it down, finding a safe place to do so can be a challenge. If your wood burning tool does not come with a stand, consider investing in one. This will keep you and your surroundings safe when you need to take a break.
Keep Your Tips Clean
When you use your wood burning tool often, the tips can get dirty. They actually get covered with a carbon build-up, and will not create precise lines in the future if they are not taken care of. Once they are cooled off completely, consider cleaning them after each use. You can do this with a simple polishing cloth. If your tips have a large build up from not being cleaned after several uses, you may need to clean them with a coarser material.
If the buildup of carbon is hard to remove, consider using a razor blades to scrap it off. Other options available are steel wood and something like 2000 grit sandpaper.
Start Light
When you begin wood burning, it is easy to press down too hard and burn too deep. Consider creating your design with light lines to start, and then going back over them afterward to finish. This will help to save you from making lines deeper than your liking. It will also make any early mistakes easier to hide or remove.
Fix Mistakes With A Hobby Knife
When you make mistakes while wood burning, they are often hard to remove You can first try removing them with sandpaper, but if the burns are too deep this will either be extremely time consuming, or it will not work at all. In these circumstances, consider removing the mistake by scraping the area with a hobby knife. You can then smooth the surface with sandpaper afterward to remove any sign of the error.
Overall, Pyrography is a simple woodworking craft with a smaller start up cost. It is easy to learn, and it does not require many tools or much space. If you have been wanting to get into woodworking but don’t know where to start, wood burning could be the perfect first step. Follow the tips and tricks in this article to get started on your wood burning journey today.
Remember Safety
For the most part, pyrography is a very safe hobby. In fact, I have no problem with my early teens doing it when I’m around. The most common injury in pyrography is getting burned. At some point, your hand will accidentally graze the metal on your pen which will result in a painful reminder.
The other safety consideration when wood burning is the smoke that is created. When you are pressing your pen against your material, it will inevitably create smoke. It’s important that you don’t inhale the smoke. You never know what could be within the material that you are burning. The easiest way to avoid breathing the smoke is to set up a small desktop fan to blow the smoke away from you.
If you want to take protecting your lungs a step further you can look into getting a small respirator to wear like this one. I have a couple of these in my garage and use them regularly when I do woodworking. The are comfortable and stay cool as well.
Recommended Tools
If you’ve done any research on wood burning products, you’ve probably seen there is a wide variety of tools available to choose from which can be quite overwhelming. Below is a small list of tools that I recommend based on pricing and quality. The tools I’ll recommend are for those who are just starting out.

Wood Burning Tool – I really like this unit by Tekchic for someone starting out. It comes with a wide variety of tips that allows a beginner to learn how different bits work. I also like that this unit allows for you to adjust the temperature settings which gives some flexibility based on the type of wood you are burning (as well as testing other materials such as leather, etc).
Hobby Knife – A good hobby knife is a great tool to have around when wood burning. You can pick up very inexpensive knives for under $2 at most big box stores. I recommend this particular knife by Mulwark because it comes with a set of different shaped blades. This allows you great freedom when correcting any mistakes. The low price of this particular knife makes it particularly favorable to adding to your collection of wood burning tools.
Beginner Book – Learn to Burn – This is a great book with a ton of pictures for someone just starting out. It shows a ton of pictures and gives detailed step by step instructions to help you get started making your first pieces of art. I highly recommend this book to get someone get started. I gave my teenage daughter this book to help her gain some confidence when she was starting out.
Related Questions
Where to sell Pyrography? – Once you have advanced your pyrography skills, you may become interested in selling your artwork. Like most woodworking projects, there are numerous places for you to offer your products for sale. I recently wrote an article titled 12 Places to Woodworking Projects Online that explains the many options available for you to make a profit on some of your creations.
Where to buy Pyrography patterns? – The best place that I found to get patterns for woodburning is Amazon. They offer hundreds of different books that are well priced on a wide varied of subject. They have numerous books that will teach you to woodburn scenery and animals from household pets to birds and horses.
What is a Pyrography Pen? – A pyrography pen is a very similar to the shape of a large pen of pencil. Obviously, it’s going to be a bit bigger and heavier than a pencil, however you hold it in your hand in the same manner. When using the pen, you’ll plug it into a wall outlet and the tip will heat up. Nice pyrography sets will allow you to adjust the temperature of the pen. As the pen heats up, you’ll press it against your material which then burns the wood and leaves black marks and designs.
Can you use a soldering iron to burn wood? – Yes, you can. However, your results may not be as favorable if you were using a pyrography pen. Soldering irons are using to melt solder and wood. They do get very hot like pyrography pens, but their overall designs are different.
Additional Resources
Here’s a great video that shows the possibilities that await you in the world of pyrography.