Applying a varnish to your projects is one of the best methods available to protect the wood and accent the natural beauty of the grain. A varnish is a transparent resin, dissolved in a liquid, which is applied wood (or other materials) and provides a durable, glossy surface. There are many different types of varnish, and the term itself refers to the finished appearance of the wood, not any one specific product or formula.
Traditional varnishes consist of resin, solvent, and a drying oil. The specific types of these ingredients vary among manufacturers, but their purposes are universal. While the resin hardens on the surface, the drying oil penetrates deep into the wood before hardening. The solvent used is typically turpentine or mineral spirits and these chemicals aid in the application and drying process.
Modern varnishes, such as polyurethane, use a plastic solution instead of a natural resin and may be suspended in oil or water. Oil based polyurethane works exactly like traditional finishes and begins to cure as soon as the solvent evaporates. Water based polyurethane uses water as a thinning agent and also begins to cure as the water dries.
 Typically, bubbles in your varnish are due to three main factors: air, dust, and moisture. Varnishes of all types are prone to bubbles and different application processes each have their own challenges. Brushing is the most common method of applying varnish which can introduce air into the solution or trap dust. Spraying your finish will mostly eliminate air bubbles, but may trap even more dust pulled from the air as the finish is applied.
Cause #1 – Dust
Dust is a major concern for varnish no matter how it is applied. Dust may be on the surface of your project before applying your finish, and will settle into the varnish as it cures. Care must be taken to keep your finishing area as dust-free as possible to avoid extra work.
It’s best if you can finish your project in an area separate from your main woodworking shop to limit exposure to the dust of your woodworking tools. If you need to finish in your shop, hanging plastic sheets around your finishing area may help reduce airborne dust.
Cause #2 – Moisture
Moisture, mainly in the wood itself, may also cause bubbles. Applying finish over wood that has not been properly dried will trap the moisture in the wood fibers. The solvents and drying agents used in varnishes may react with this moisture causing it to evaporate or pool on the surface under you varnish layers, creating bubbles.
When working with wet wood, it is best to let it fully dry before applying finish of any kind. You may need to use a moisture meter to determine if your wood is safe for varnish application.
Cause #3 – Chemical Reactions
Chemical reactions are also a concern when restoring an older finish. If you are uncertain what type of varnish was originally used, it may be best to fully sand your project to raw wood before starting your finishing process. If sanding is impossible, test your new finishing in an inconspicuous area to ensure there is no reaction between the two.
Reducing Bubbles With Brushing
Eliminating bubbles entirely can be difficult. Regardless of how careful you are, you will likely need to do some finish buffing and polishing to remove fine bubbles, but here are a few tips to help you reduce the chance of bubbles forming.
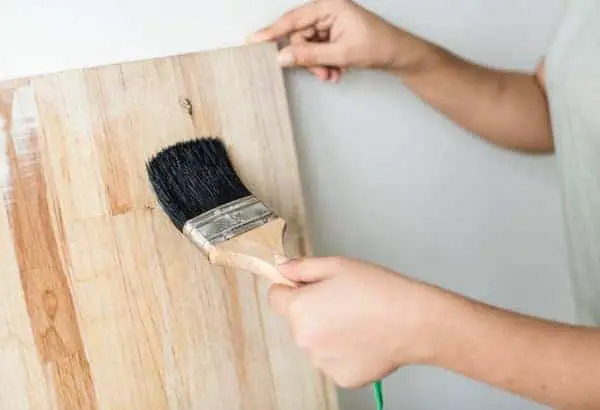
The Brush Matters
If you take nothing else away from this article, remember this: a paint brush IS NOT a finishing brush. A good-quality finishing brush will make all the difference in your final appearance.
Paint brushes have large, stiff bristles that are spaced further apart, and are prone to trapping air in the bristles. Paint brushes are designed to apply thick layers to hide what’s underneath. A thick layer of paint will level itself while drying and eliminate brush strokes.
Finishing brushes are fuller and denser with thin, natural bristles. A soft finishing brush will lay down a thin, delicate coat to accentuate the wood beneath. A thick layer of varnish will bubble, puddle, and run while drying. My go to brush when applying a varnish is this one made my Wooster. I’ve tried several in the past, and this one always performs well!
Never Shake the Can
You should always stir, and never shake varnish. Shaking will introduce tiny bubbles into the solution that will be very hard to remove while brushing. Stir slowly and deliberately with a wide stir stick. Do not use a drill attachment or other mixing device that vigorously agitates the varnish. Avoid “stabbing” the stirrer into the can repeatedly to avoid air pockets. A simple, smooth stirring is more than enough for most finishes.
Thin Your Varnish
Thinner varnish will flow better and give air bubbles a chance to pop before the finish can cure. If you are using an oil-based finish, refer to the product label for the recommended thinning solvent. Ignore the manufacturers recommendation to use their product full-strength. Many thin coats is always better than fewer, thicker coats. Water-based finishes can be thinned with distilled water. A 3:1 ratio of product to thinner is recommended.
Clean the Surface
Always wipe down the surface of your project between every coat of varnish. Dampen a cloth with mineral spirits and thoroughly wipe every part of your project that will receive finish. After the mineral spirits has dried, and just before applying varnish, wipe down the project again with a tack cloth to remove any fine dust.
Sanding Sealer
The best sanding sealer for your varnish is the varnish itself! Avoid mixing products that may contain incompatible chemicals. Thin your sealing coat 2 parts varnish to 1 part thinner. A thinner sealant will penetrate deeper into the wood and lock in the top layer of fibers.
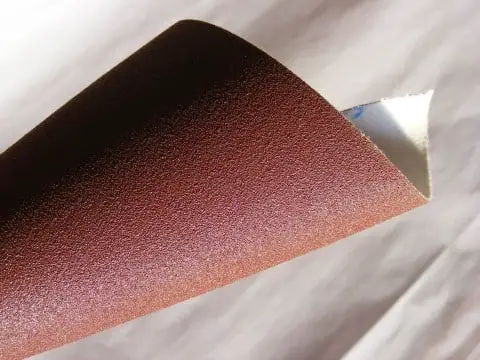
Sand Between Coats
It is inevitable that dust will be trapped in the layers of your varnish and sanding between coats will help to reduce their appearance. The first layer will also “raise the grain” of the wood which will need to be sanded back down before applying another coat. Use 220 grit sandpaper to lightly scuff the surface and wipe it down again with a tack cloth. Avoid using thinners between coats that may damage the underlying finish.
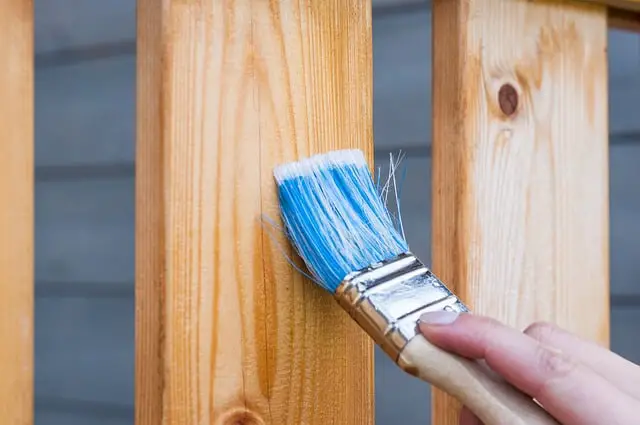
Start In The Middle
Start your finishing from the middle of your surface and pull your brush to one edge. Return to the middle and pull your brush to the opposite edge. Do not press down on the brush. Allow the finish to flow from the bristles naturally with very light pressure.
Do Not Overwork It
Avoid brushing back and forth as much as possible. Ideally, you want to lay down an even, thin coat with a single brush stroke. Do not overwork the finish trying to smooth it out. This will introduce more bubbles into the finish that will be harder to remove. Brushing will also allow the solvent to dry faster which reduces the chance for bubbles to pop.
Use a Full Brush
Fill your brush with as much varnish as necessary to complete a full-length stroke on your project. This will take some practice to fully understand how much finish you will need in your brush. Too much finish will leave a puddle at the edge of your project that may run or crack while drying.
Feathering or Tipping
After applying your varnish, take long strokes from edge to edge with just the tip of the brush as lightly as possible. “Feathering” the finish in this manner will help to thin it out and pop any small bubbles that have risen to the surface. Again, avoid overworking the finish!
Final Coat
If dust is a problem in your finish, you may want to apply the final coat full strength. Clean the project thoroughly as you did between all coats. A fuller coat will trap dust deeper in the finish, making it harder to detect.
Fixing Bubbles
If your finished project has bubbles, that’s okay, you can still fix them! Sanding, buffing, and polishing are the best options for projects that are already complete. If the problem is very severe, you may need to sand the finish off completely and apply an entirely new finish. Follow the steps above carefully to help eliminate bubbles as much as possible.
Even the most careful finishing process will likely yield a few blemishes. You can lightly buff the surface with 0000 steel wool to remove surface bubbles and dust. Wipe down the surface afterwards with a clean cloth and hand polish with wax or furniture polish to restore the desired shine.
The finishing process can be one of the most rewarding ways to accent and protect your project. It can also be one of the most frustrating parts of any project. They key to a good finish is time and patience. Thin coats, applied carefully, and allowed to dry completely will yield good results. Rushing a finishing job might end up disastrous, requiring you to start over by sanding your project down to bare wood. Do it right the first time and you’ll almost never be sorry!
For additional information on which wood finishes are food safe, please have a look my article here.